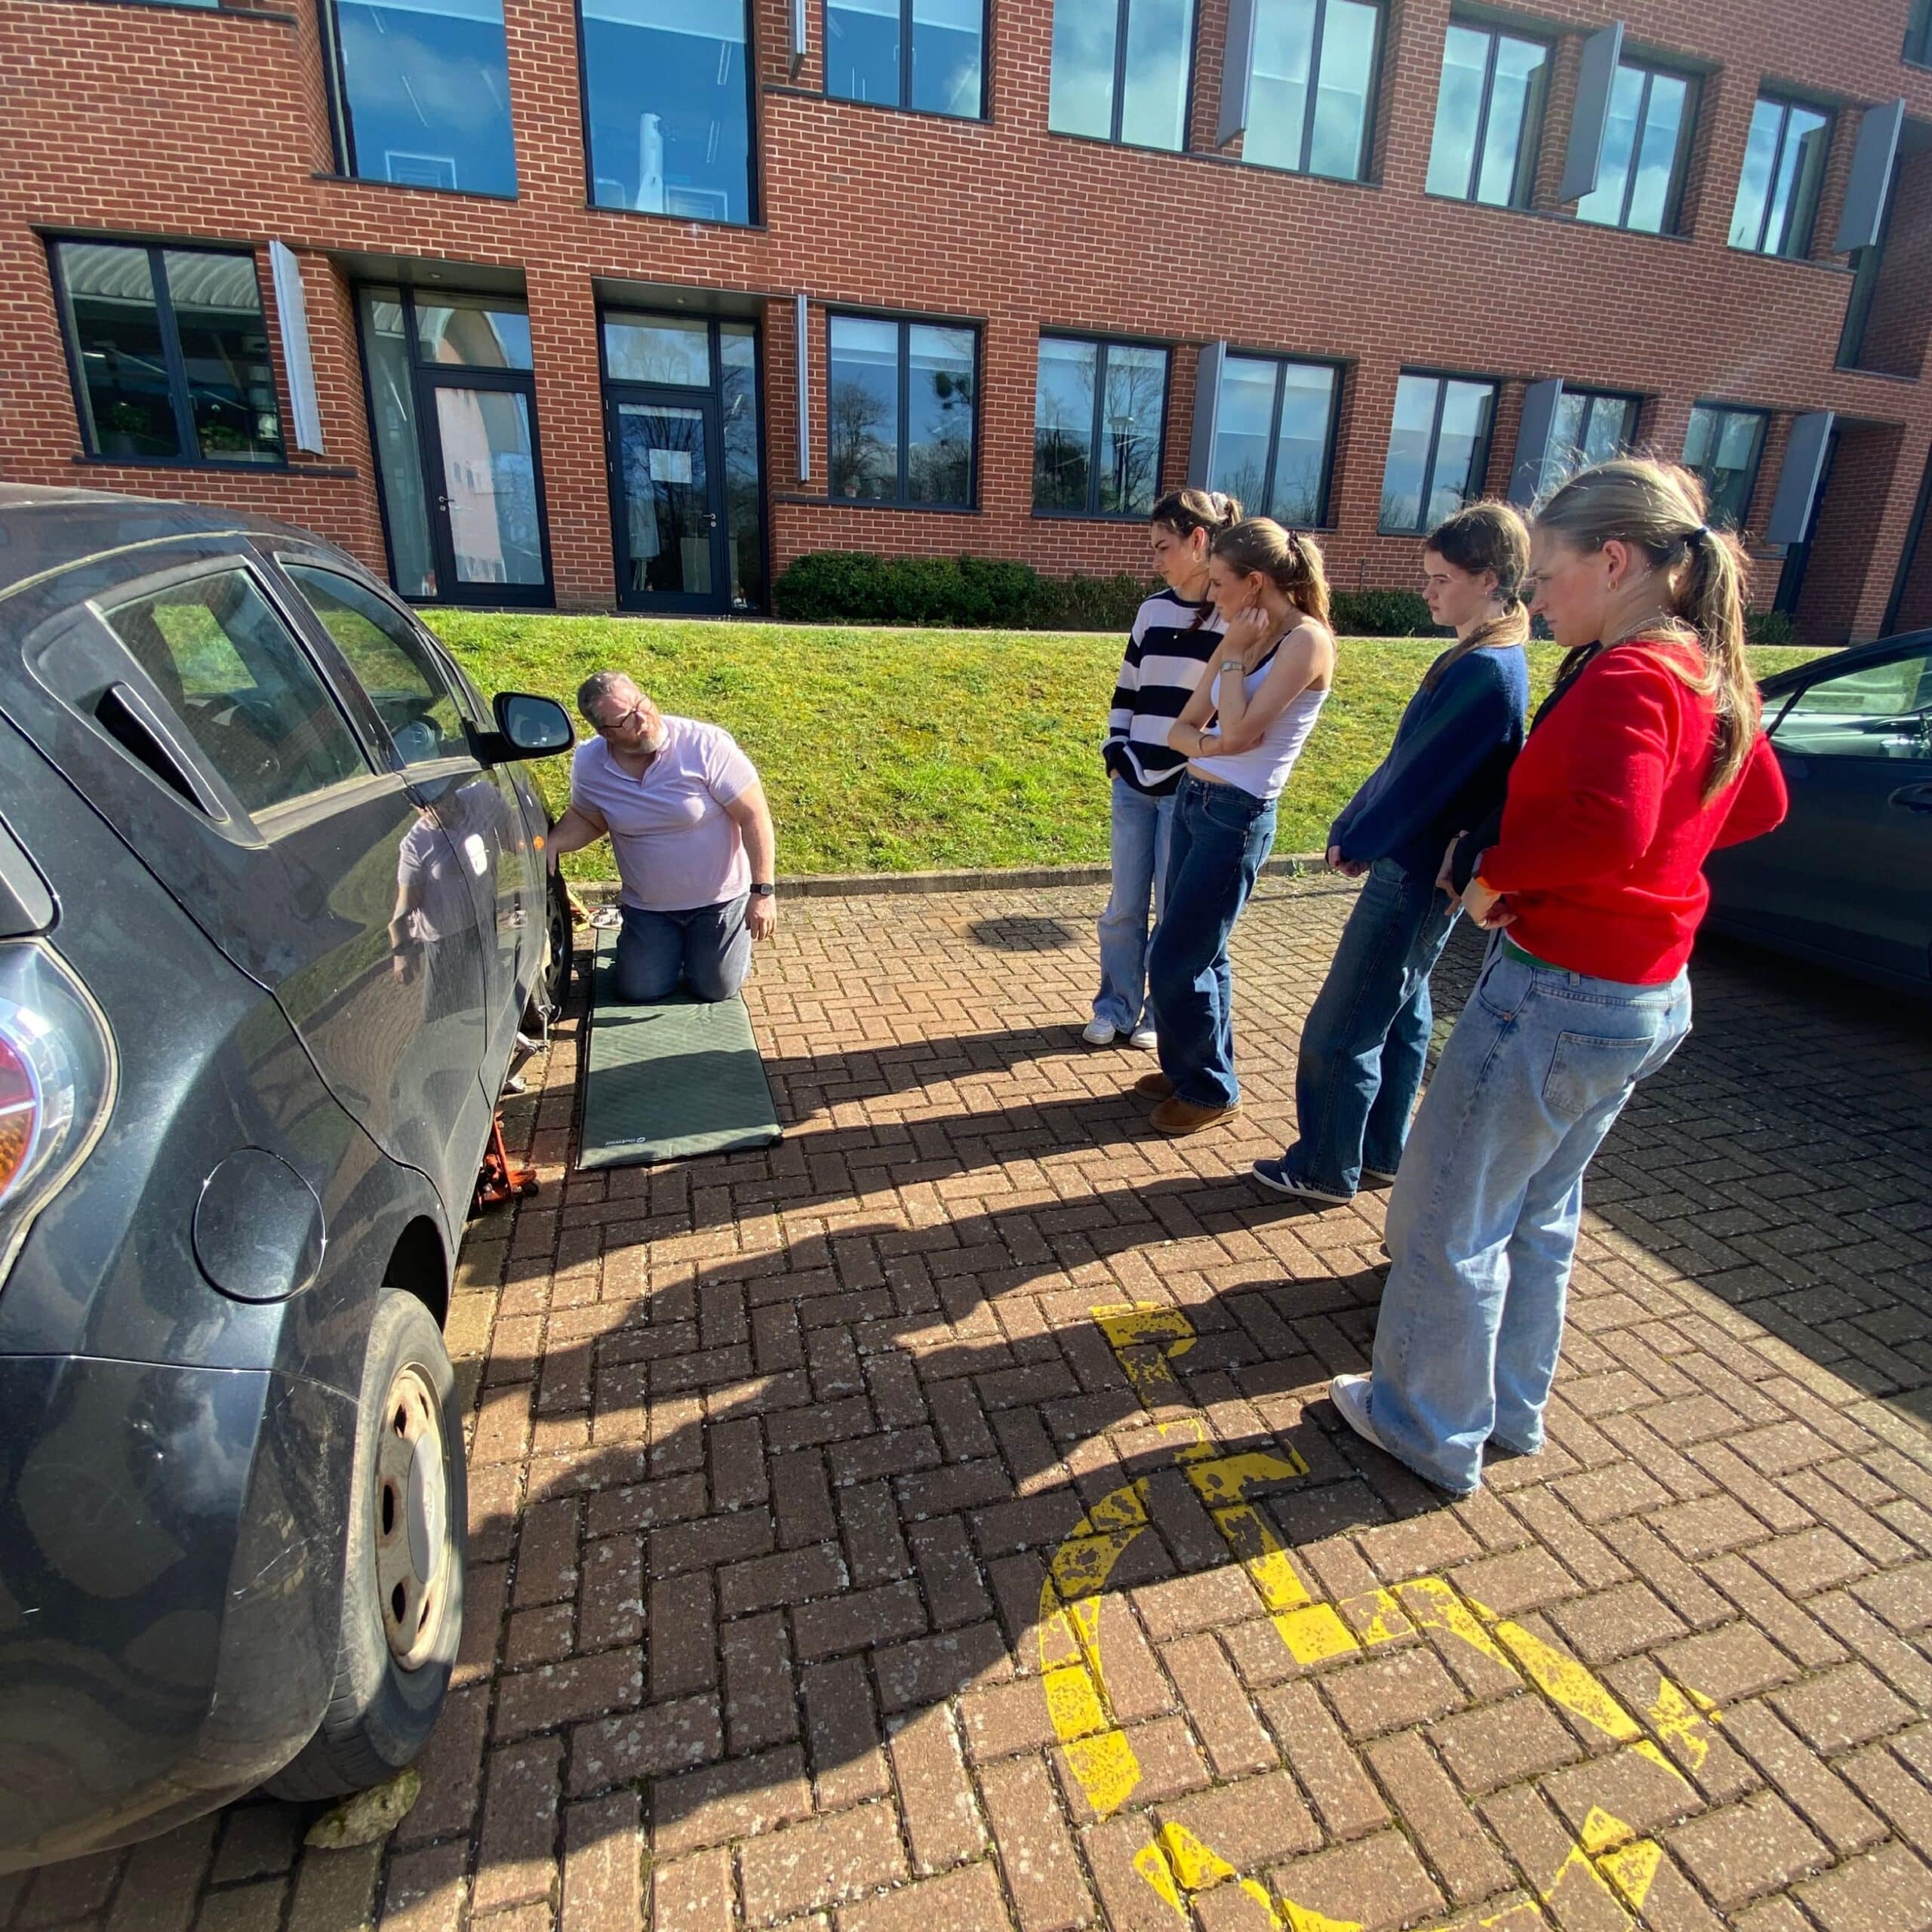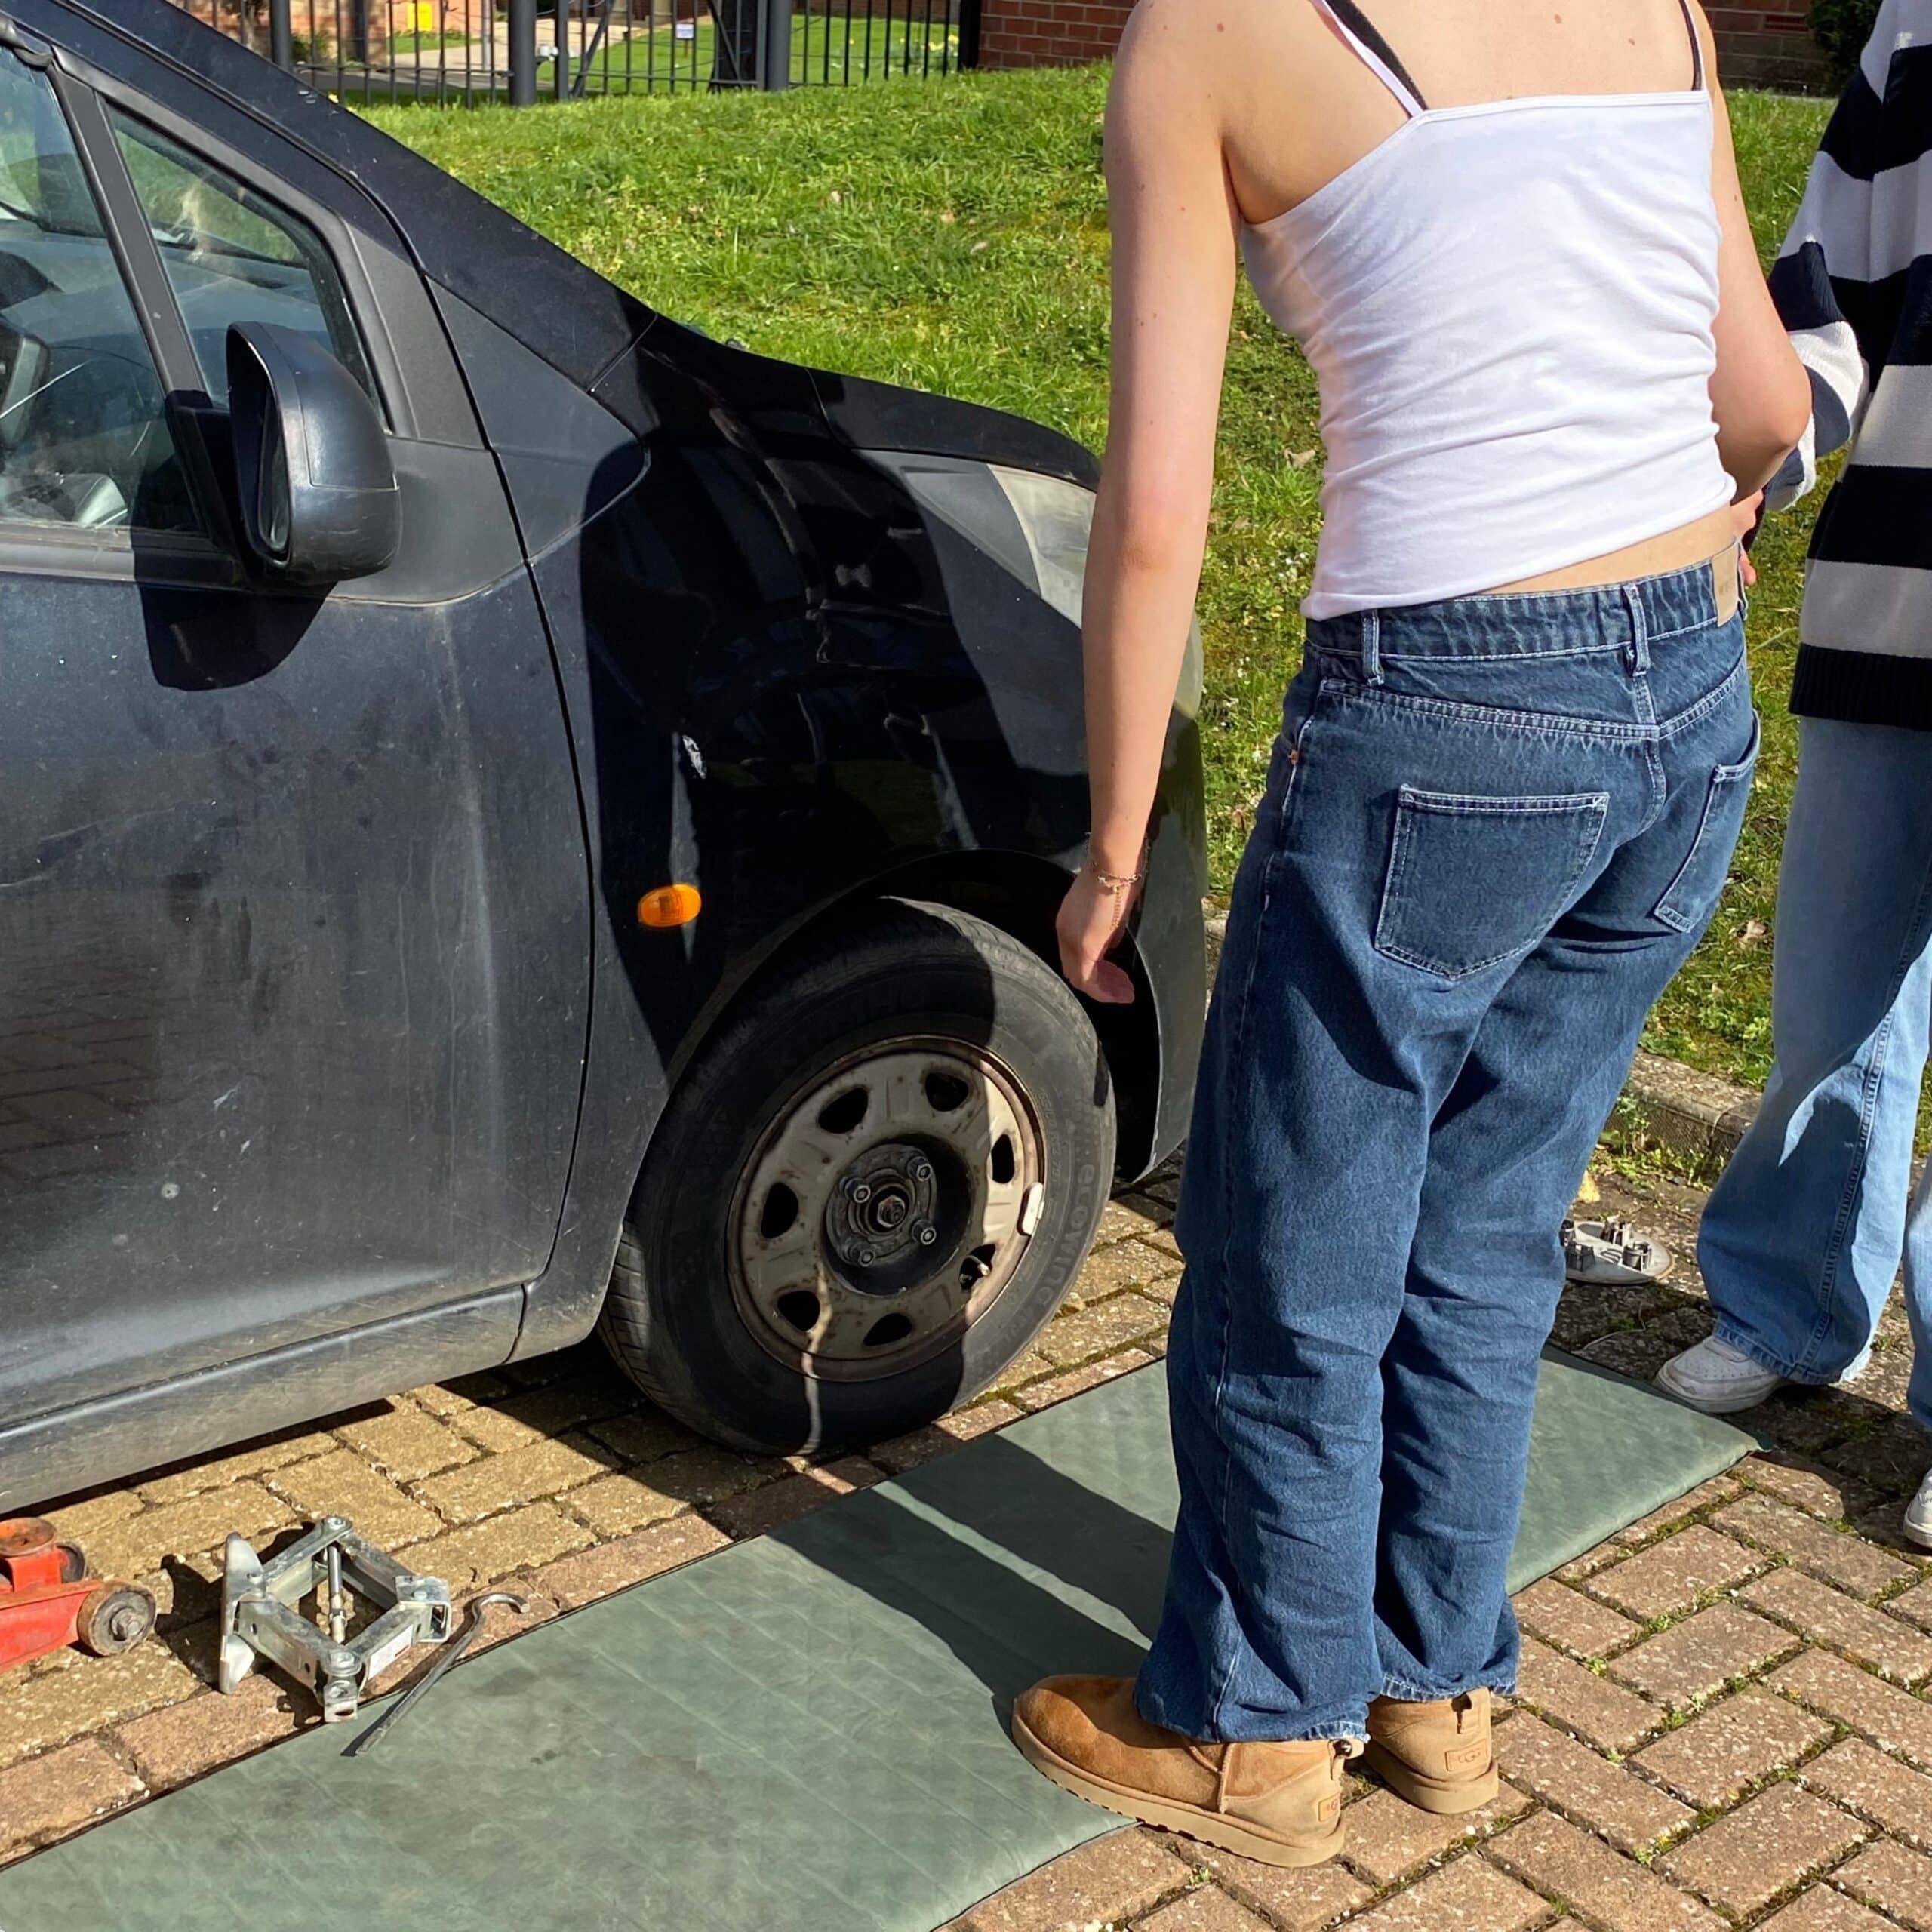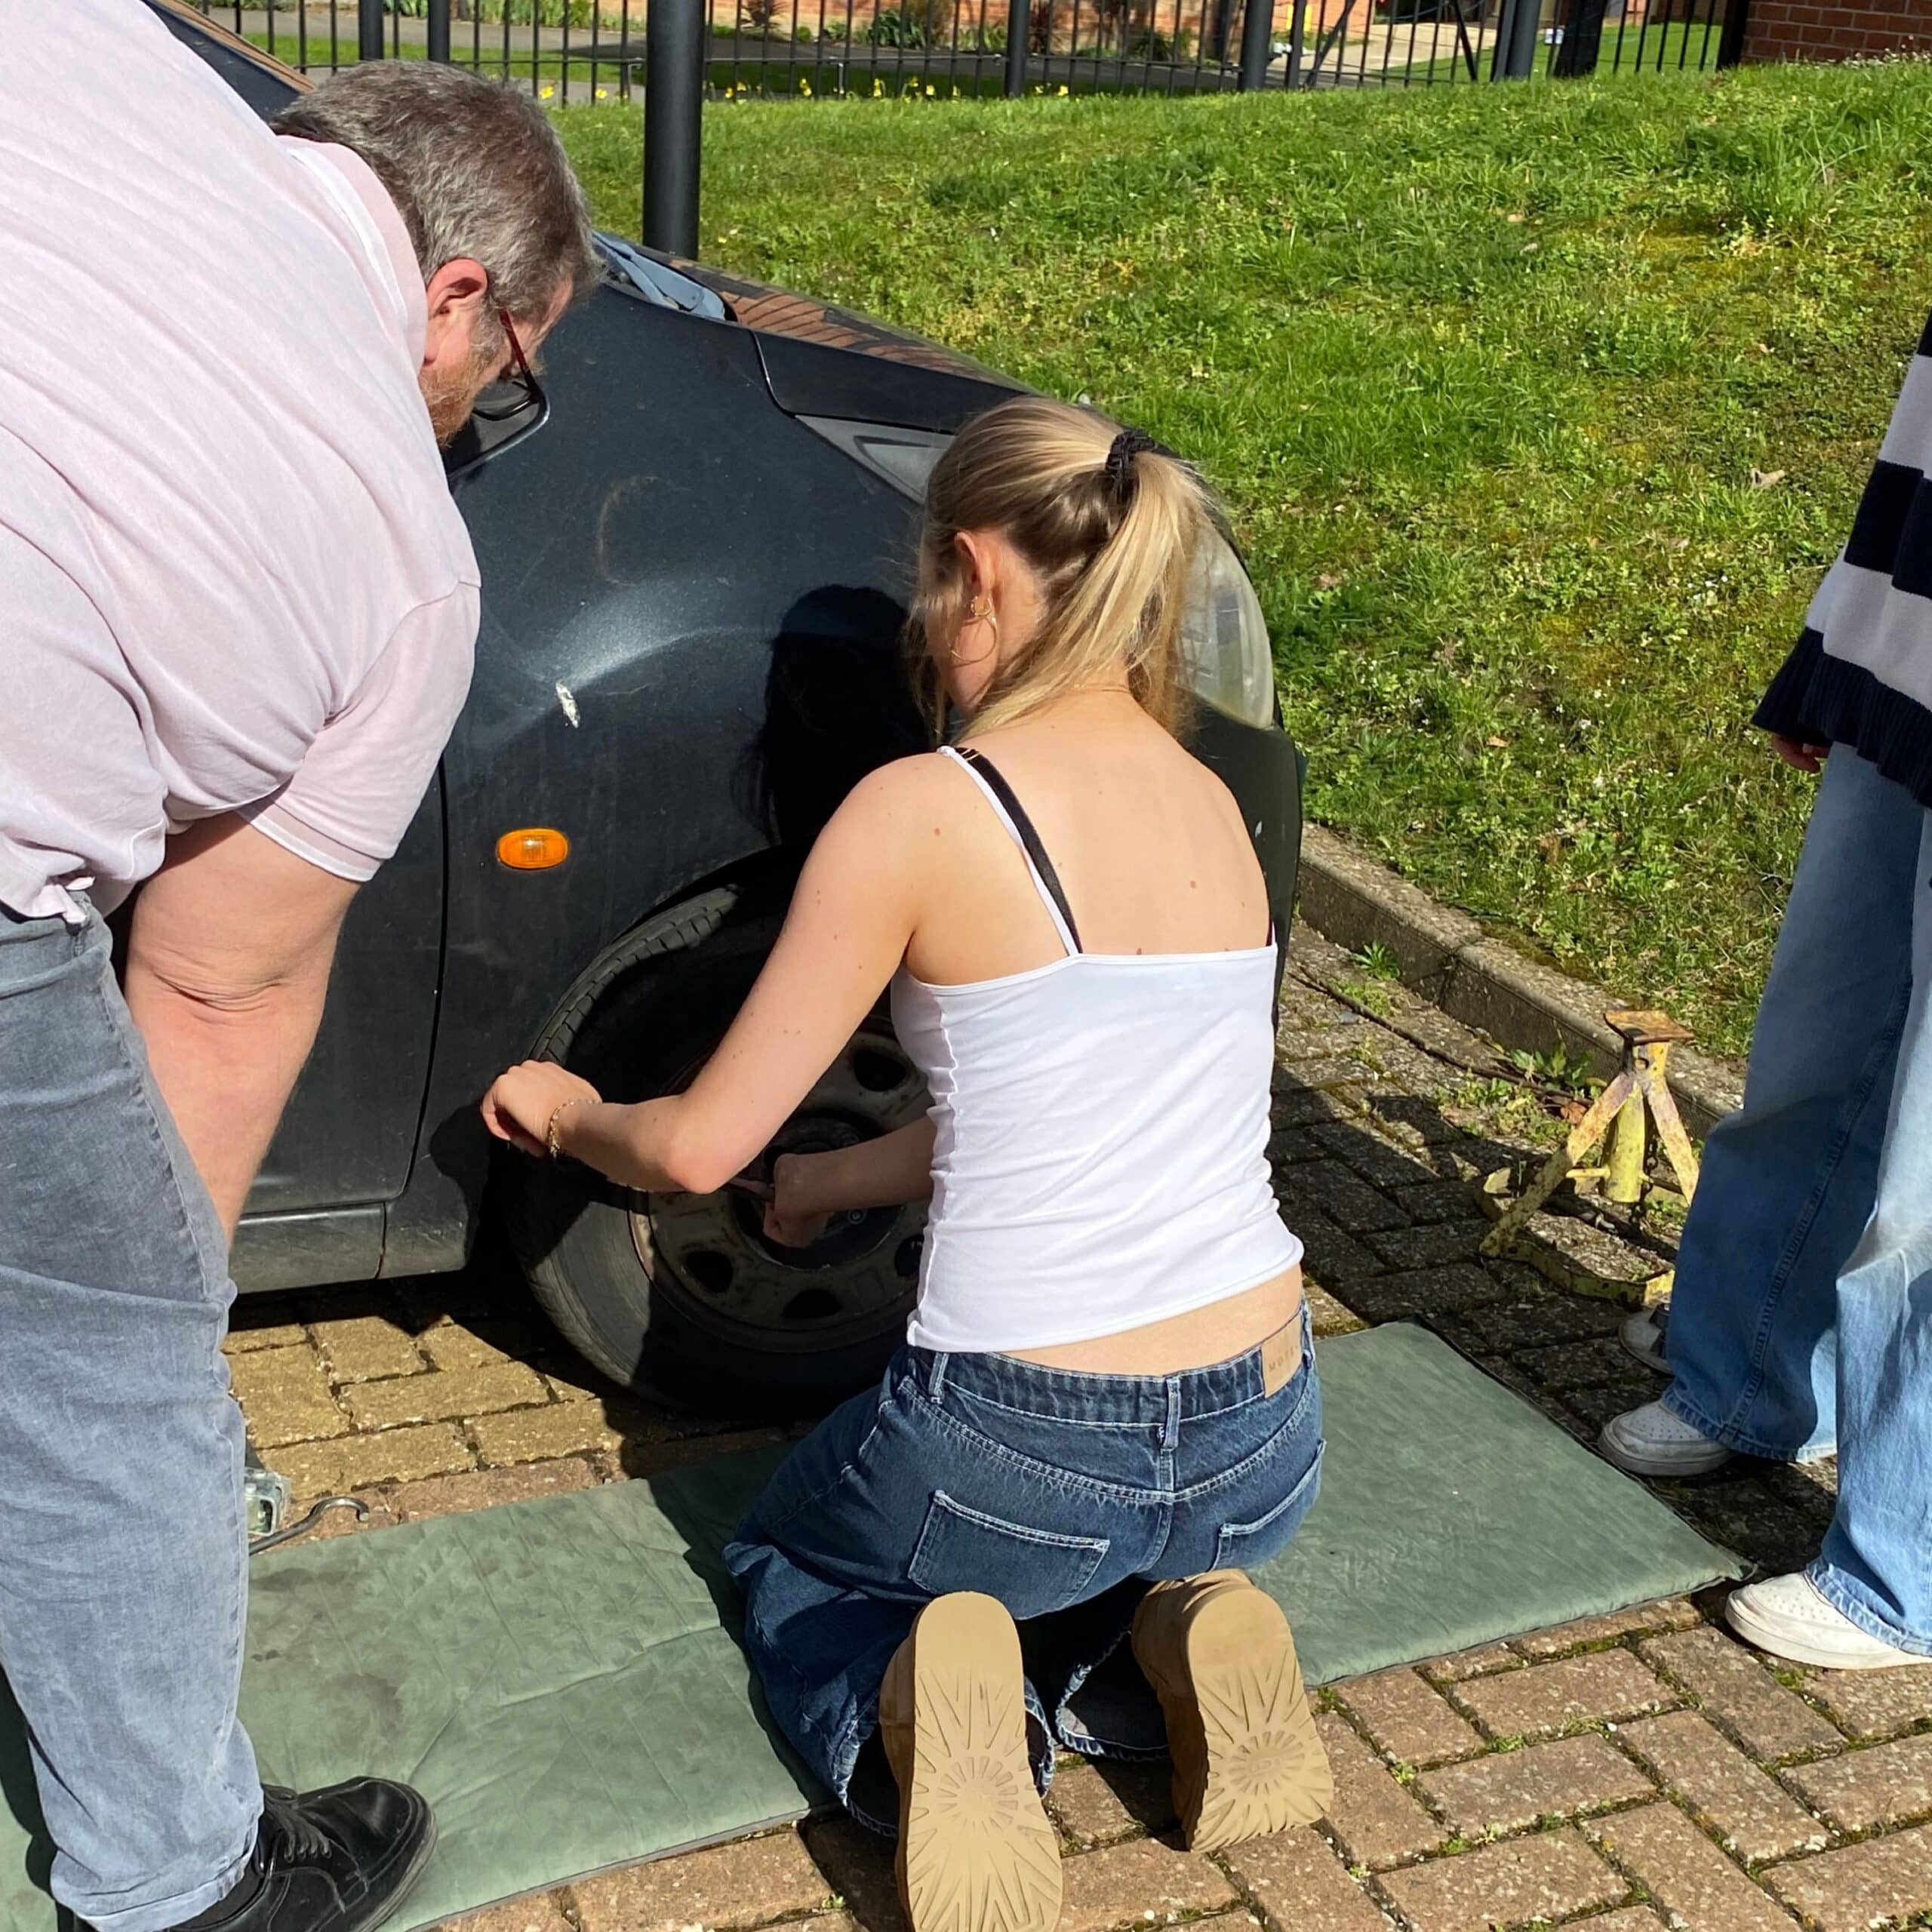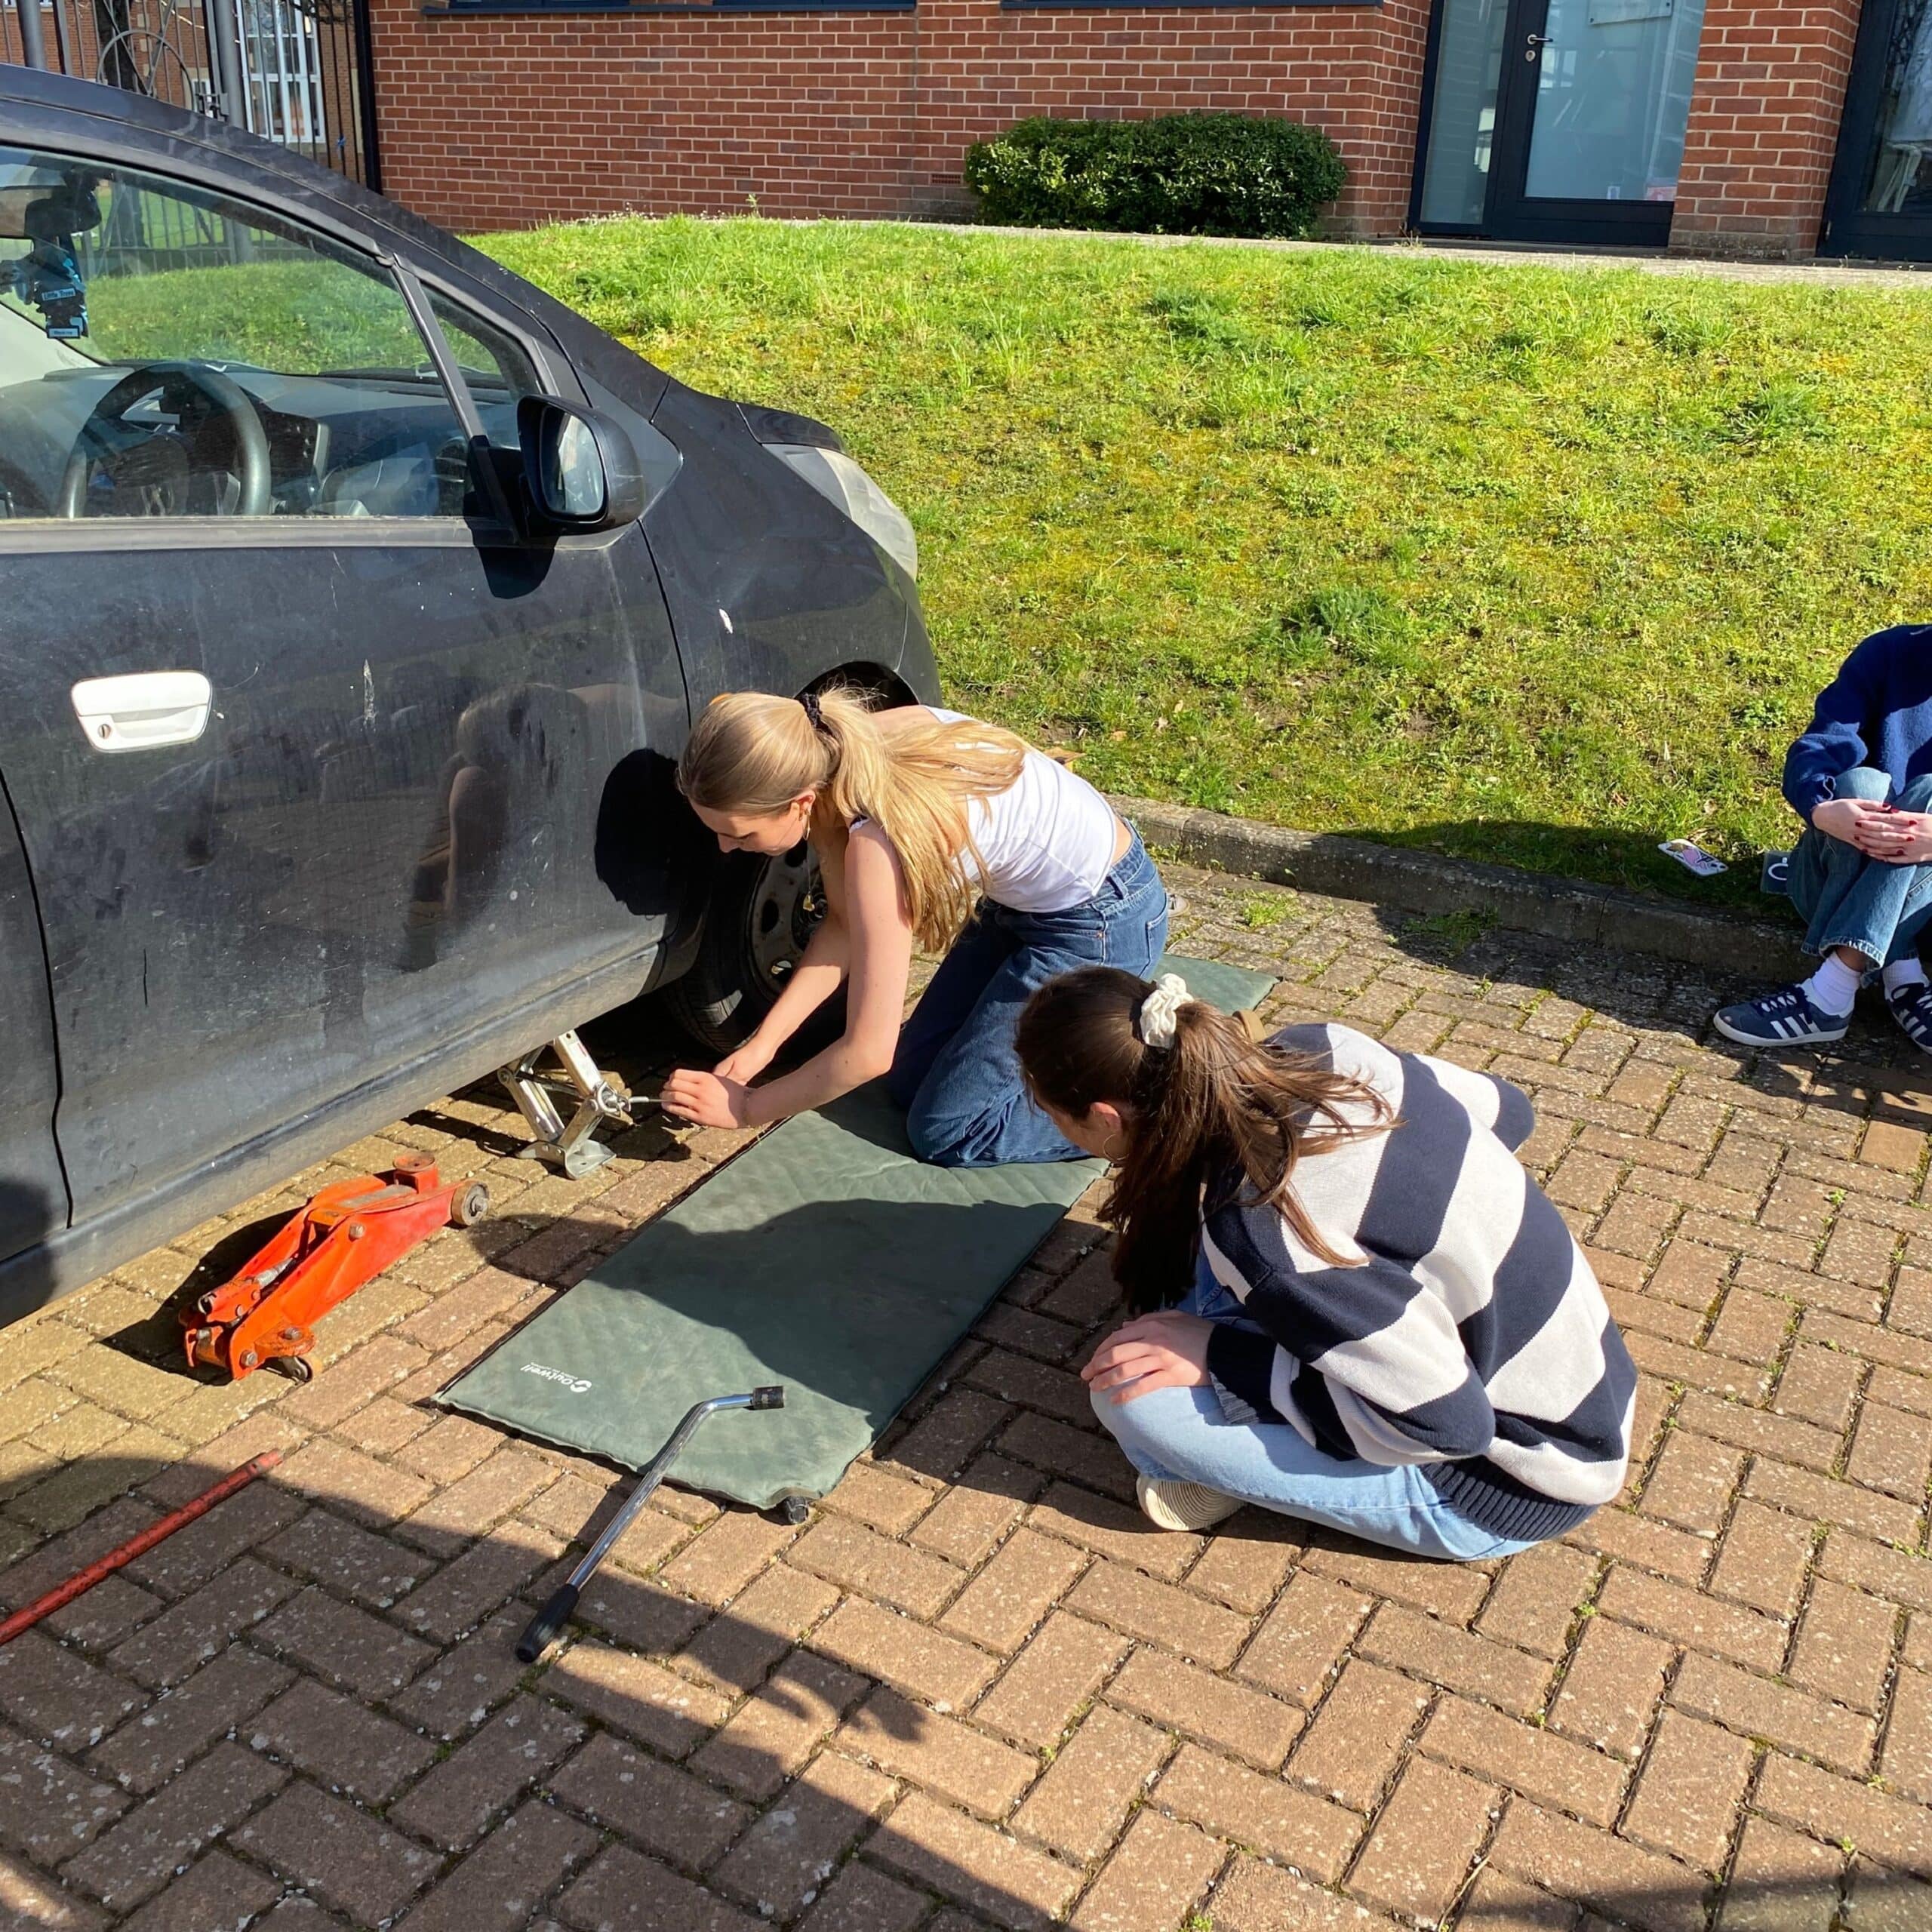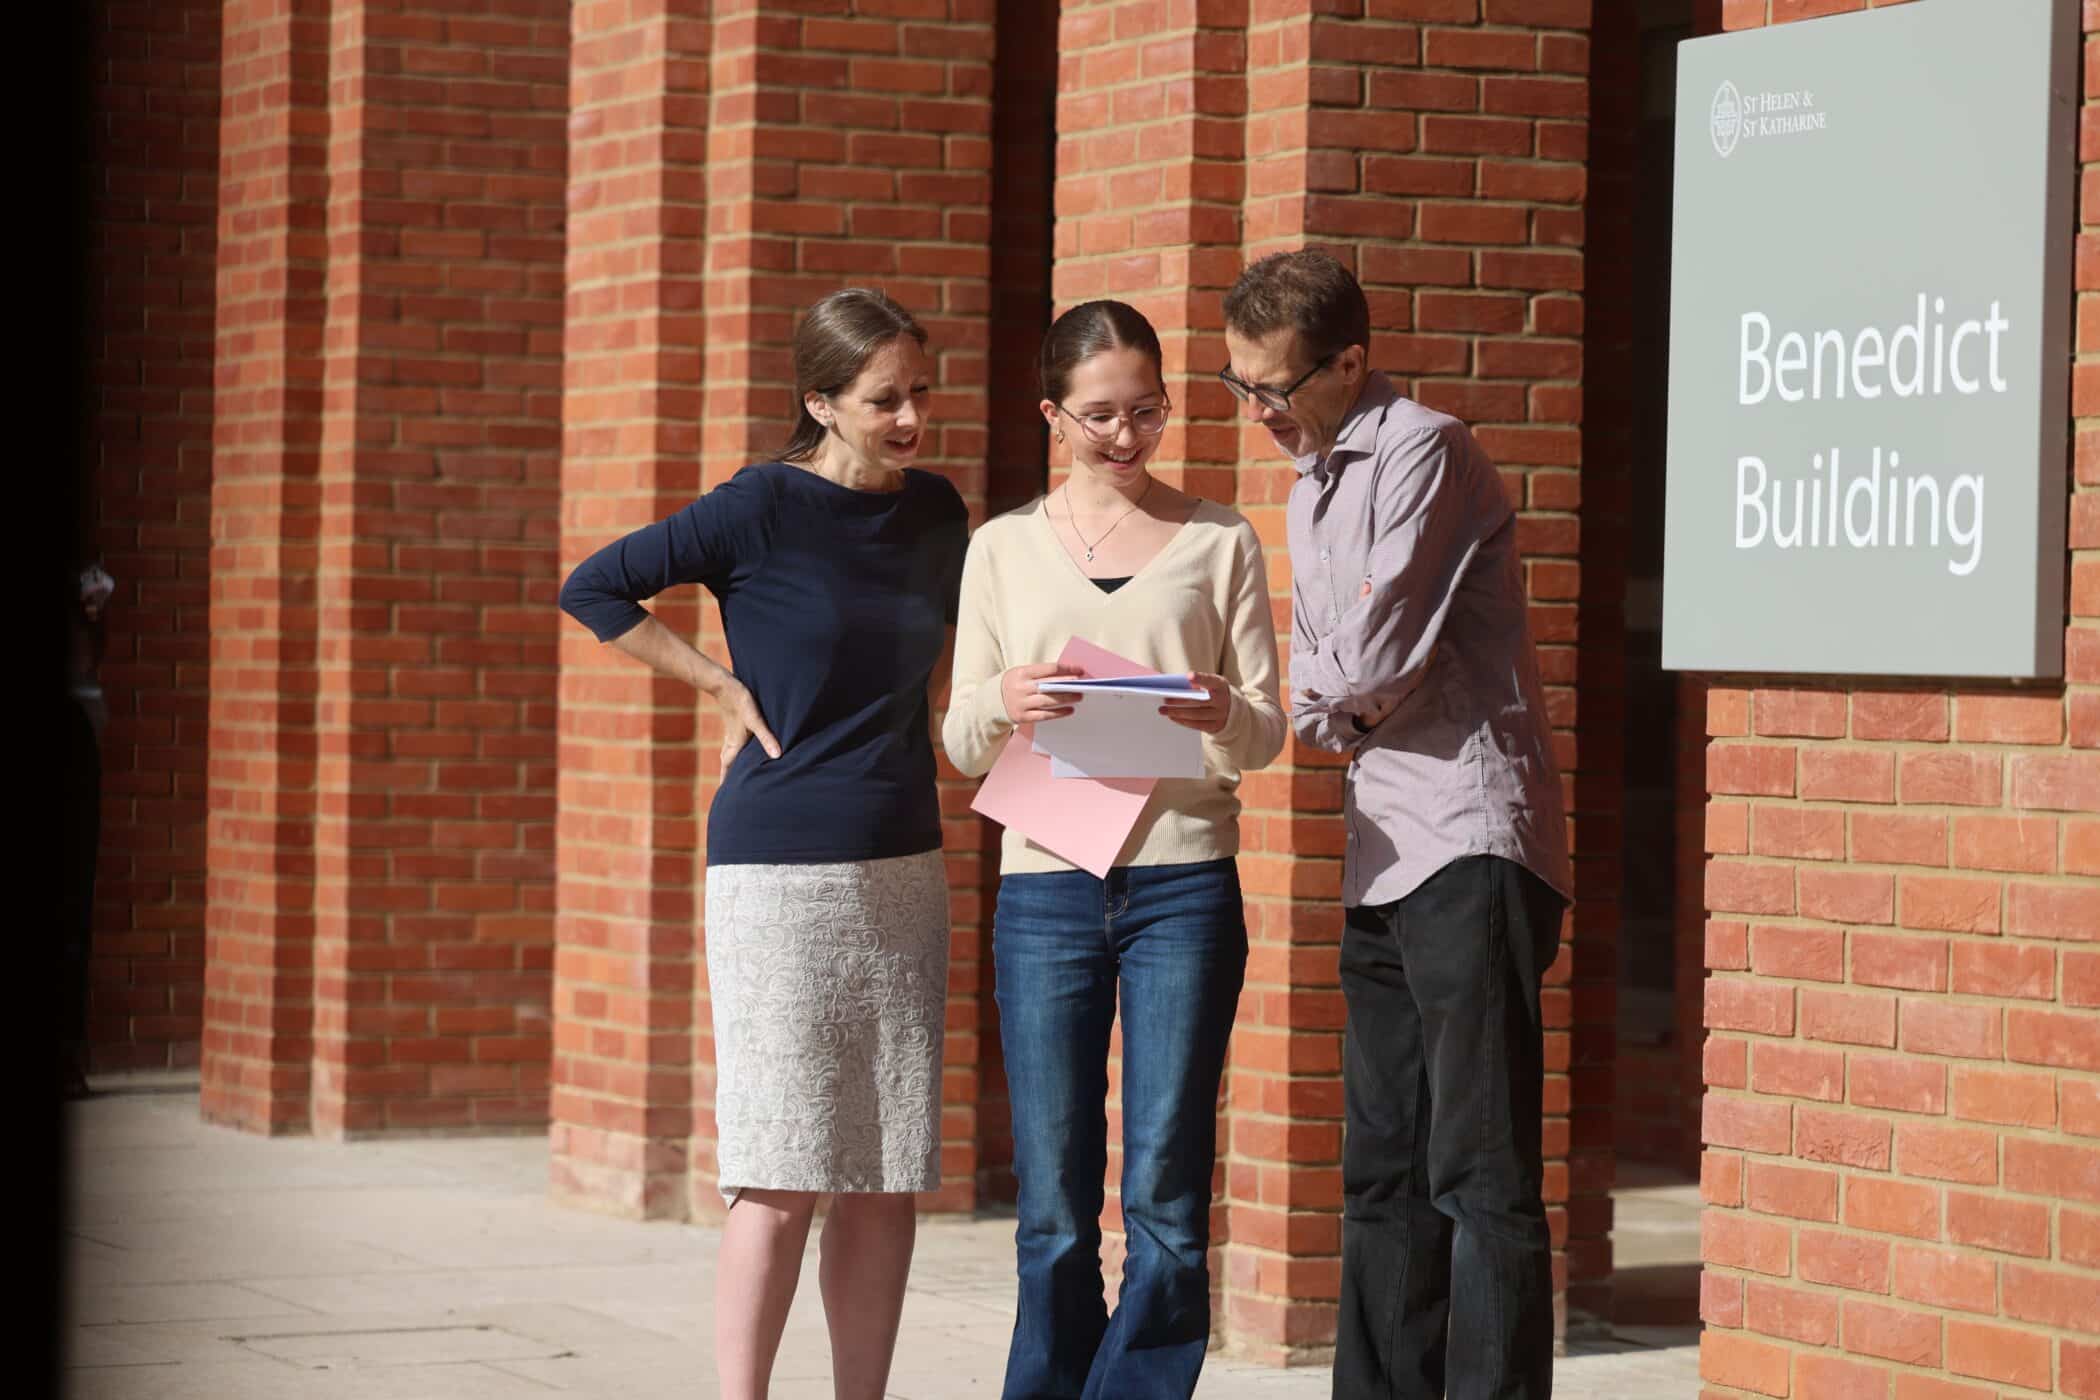









As part of their General Studies, Upper Sixth students learn how to change a tyre on a car.
We have run these sessions for the past two years as learning what to do when you have a flat tyre is an incredibly useful skill to have. By the time they get to my class, the students have already been covering basic car checks in other lessons. When a group asked two years ago if they could be shown how to change a tyre, as a qualified mechanic, I was happy to be able to help.
In the session, we go over the basics of changing a tyre and then in pairs, the students jack up and change the tyre themselves so they hopefully feel confident should they need to do it in the future. Here is a round up of what they learnt:
- 1. Get somewhere safe.
If you’re on a motorway or it feels unsafe → call roadside assistance instead.
Pull over to a flat, stable surface (not a slope if possible).
Turn on hazard lights.
Put the car in:
- Manual: gear + handbrake
- Automatic: park + handbrake
2. Loosen the wheel nuts (before jacking up the car)
3. Jack up the car
4. Remove the wheel
5. Put on the spare
- Line up the holes with the bolts.
- Push the spare tyre on.
6. Hand-tighten the nuts
- Screw them on by hand first.
- Then lightly tighten with the wrench.
8. Lower the car off the jack then fully tighten the nuts
- Tighten in a star pattern / Opposites and not in a circle).
This pulls the wheel up evenly.
9. Final checks
- Make sure everything’s tight.
- Put tools + flat tyre back in the boot.
- Check the tyre pressure as soon as possible and also after a short time just check the wheel nuts are still tight.
Spare tyres (especially space-savers) are temporary — usually max ~50 mph (80 km/h).
Get the proper tyre fixed or replaced ASAP.
Remember – if it feels unsafe, call roadside assistance.